Presentation
Video
3D printing
40 Min
BakeBuild
 Kaympe20
🎉 BakeBuild: Shape Your Sweet Wonder! 🍪
BakeBuild is your chance to turn imagination into a snackable reality! In this Hack Club YSWS (You Ship We Ship) event, you’ll design a custom cookie cutter, see it come to life through 3D printing, and have it shipped to your doorstep—complete with a cookie made using your unique design.
What you will be doing here
-
You will
- Learn the basics of CAD by designing and creating your own cookie cutter
- Get your cookie cutter printed out
- Get cookies!!!!
Getting Started
- First, sign up or log into Onshape
- Once you’re signed in, create a document and name it “Cookie Cutter” or something else relevant
Picking a design
-
Decide what you want to do
- Talk to your friends and brainstorm ideas
- Sketch an outline of it using either digital tools or paper
-
Find something that has a simple outline, like this loch ness
monster!

- Once you’ve got your outline, save an image of it to your computer and return to Onshape!
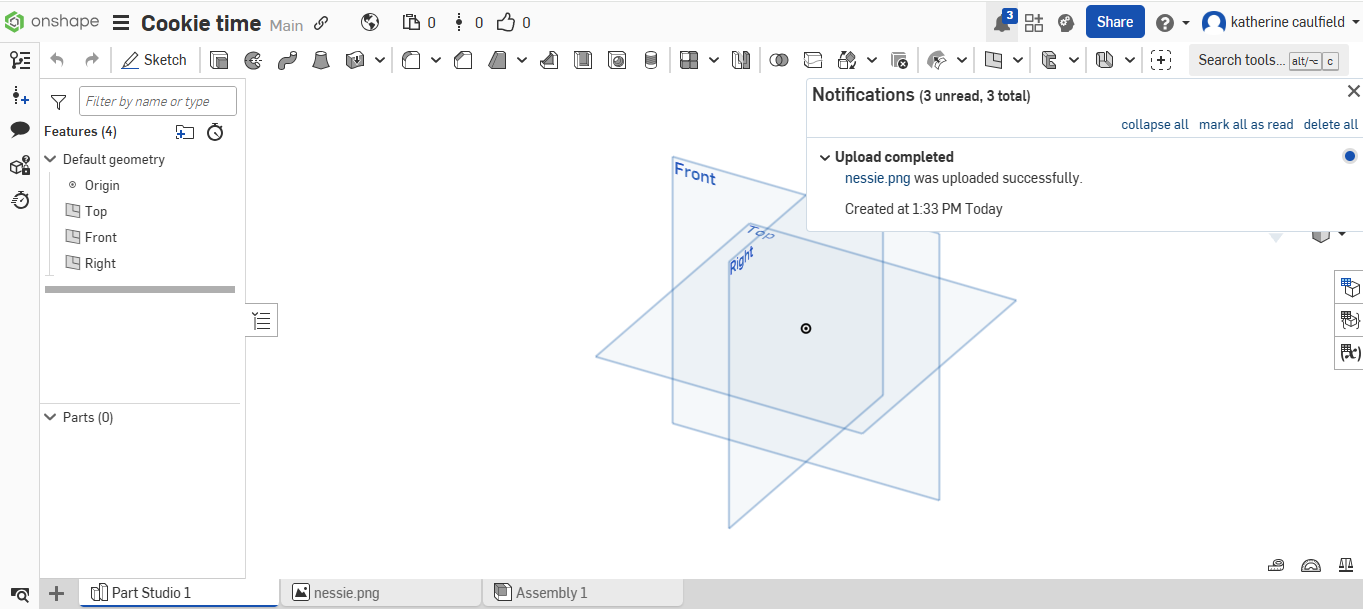
Importing the image into onshape
- Now that you have your template, we can start designing!
-
Click the plus sign next to studio parts (far right bottom
corner)
- A dropdown menu should appear
- Click on the last option “import”
- Select your chosen file and click “open”
-
A loading bar will appear and tell you once your image has been
successfully imported
Insert the picture
- Now it’s time to add the image!
- Create a sketch on the top plane and insert the photo
- Using the dropdown from “Insert DXF or DWG,” click on “Insert Image”
-
An option to insert an image will appear
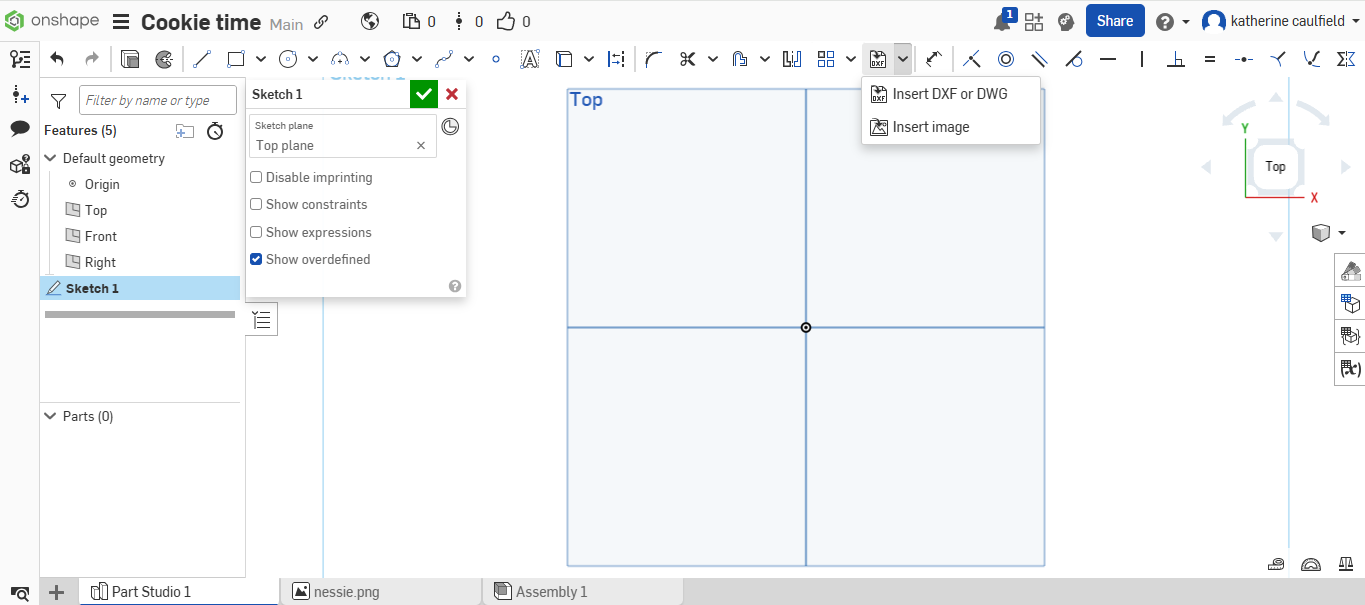
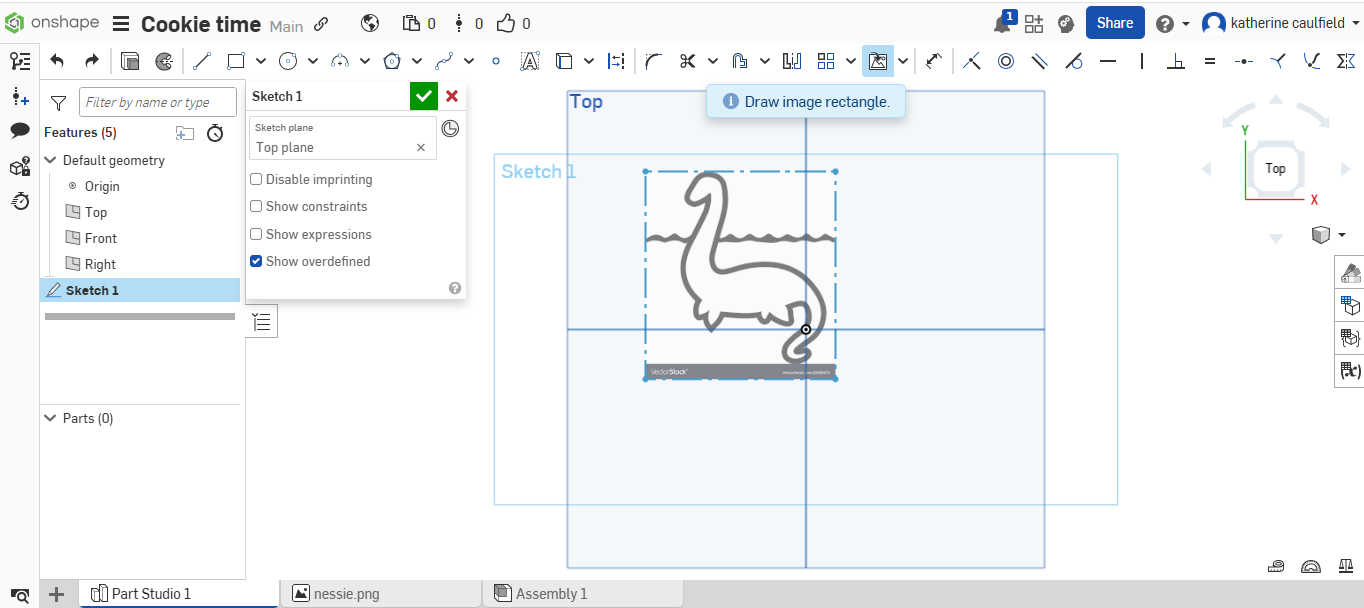
- Choose your image from the pop-up
- Click on the pane you want to drag to draw your image
-
DO NOT CONFIRM YOUR SKETCH YET
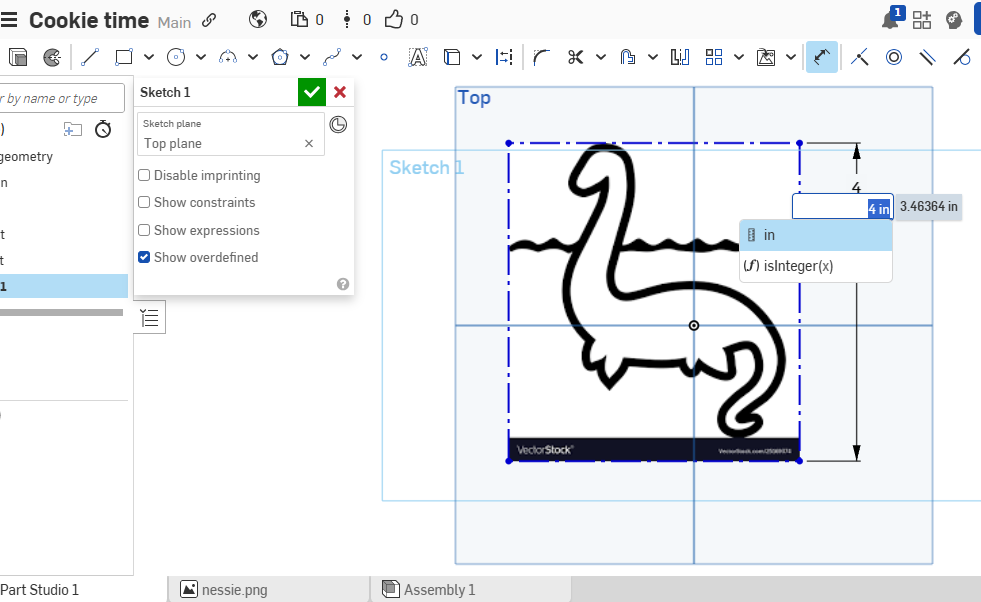
Dimension
- Use the dimensioning tool to change the size of your picture
-
In general, your outline probably shouldn’t be over 4in x 4in or
100mm x 100mm
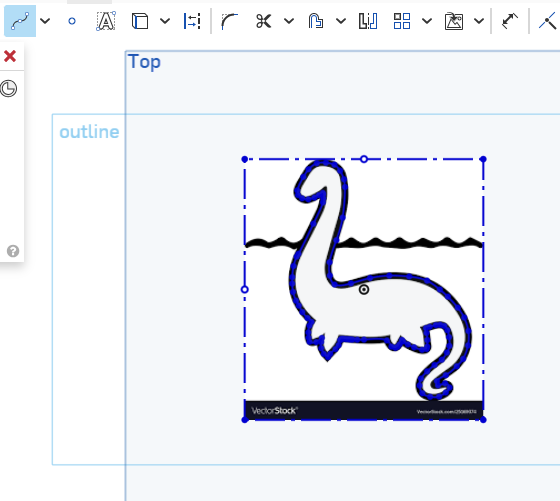
Tracing
- Once you have your image inserted and properly dimensioned, you can start tracing!
-
Use the spline tool and click along your outline to trace it
out!
- Note that you can edit the points of your spline after confirming it but you cannot undo any (DO NOT TRY UNDOING WHILE MAKING THE OUTLINE)
-
Once you’re happy with your outline, confirm your sketch by
clicking on the green checkmark
3D time
- Once your sketch is confirmed, click the extrude tool and choose “thin”
-
Then select the outline of your sketch
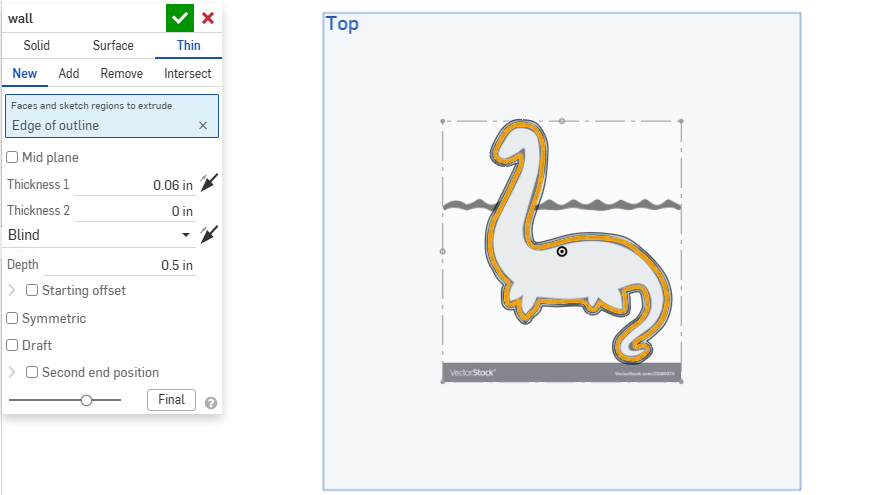
- Now you can change the thickness
- I find that 2mm/.08in work best
- Then choose the depth
- You’re going to want this to be about 12.7mm/0.5 in
- Confirm the Extrude
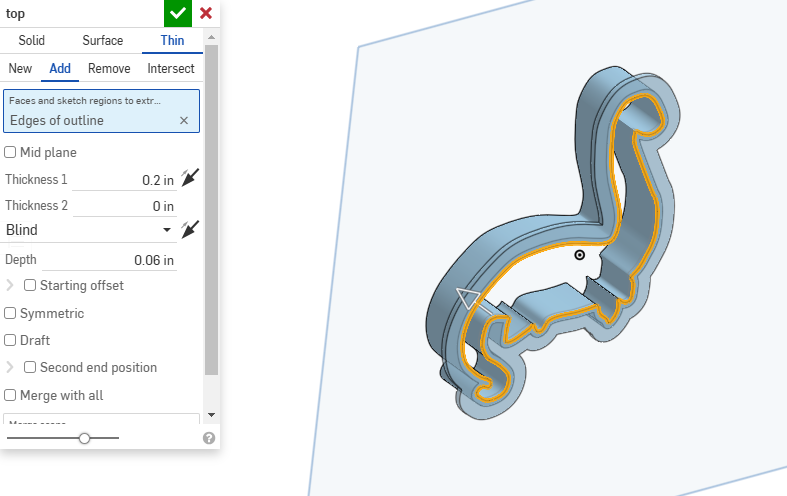
Pretty little border
- Click extrude again
-
Select the bottom side of the extrude and use thin to make a
pretty border
- Thickness ~ 5mm
-
Depth ~ 2mm
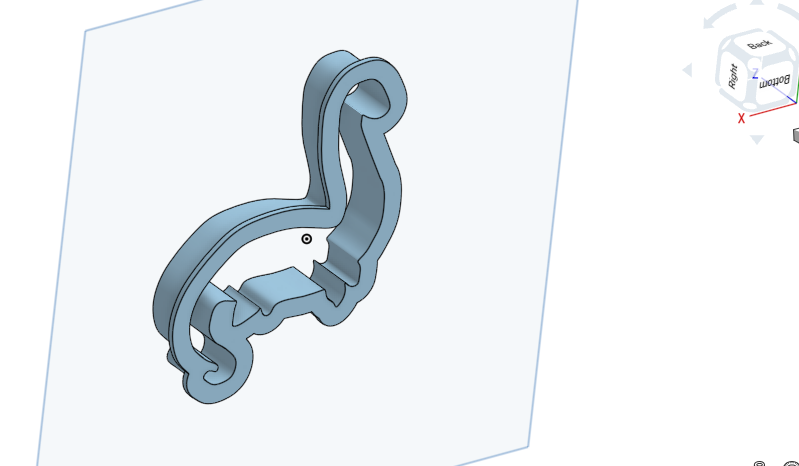
ADMIRE IT!
- Look at your finished design!
- Isn’t it pretty?
- Feel happy and proud
- …until you realize that there is still more page to scroll
Screenshot
- Take a screenshot of your design (like so) and save it to your computer
-
You will need this for submission
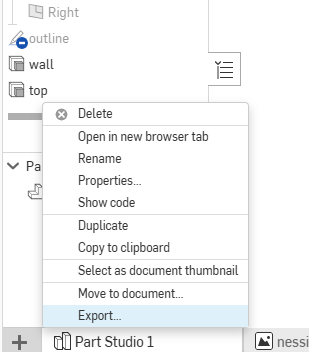
Export
- Now it’s time to export it!
- Right click the “part studio” tab where you made your whole design
-
Select “export”
- A pop up will appear
- Name your file something relevant and boring like “Cookie Cutter” again
- Select “STEP” for the format
- Click the blue export button
- You should now have a STEP file of your cookie cutter saved to your computer
Submitting
- Fill out the form.
- Email: yourusername@ormistonsandwell.org.uk
- Choose your Hack Club: Ormiston Sandwell Community Academy
- Address (Line 1): Ormiston Sandwell Community Academy
- Address (Line 2): Lower City Road
- City: Tividale
- State / Province: Oldbury
- ZIP / Postal Code: B69 2HE
- Country: United Kingdom
Use these details: